Due to the present rise in RV camping popularity, solar panel-powered RVs are more common than ever. If you enjoy camping off the grid, solar energy technologies may provide all of the power your RV needs. A solar energy-based system, unlike a gasoline-powered generator, captures sunlight and transforms it into electricity, which silently charges your batteries. If you’re interested in finding the best flexible solar panels for your RV, you may want to take a look at some recommendations for top products.
In a nutshell, a solar panel converts direct sunlight into electricity by removing electrons from atoms and generating a current flow. Such solar-energy accumulating panels are made up of many smaller components known as photovoltaic cells.
However, it can be not enough to pick only panels and batteries for building a full-fledged solar system. To connect panels to batteries to produce electricity, you’ll require five fundamental components.
Do you have solar panels on your RV? If not, you should consider adding them! Solar energy-based panels are a great way to generate power while camping and they can help keep your batteries charged up.
In this blog post, we will discuss how to hook up solar panels to RV batteries. We will go over the basics of wiring and show you how to connect everything correctly. So, if you’re interested in adding solar panels to your RV, keep reading!
Basic Components
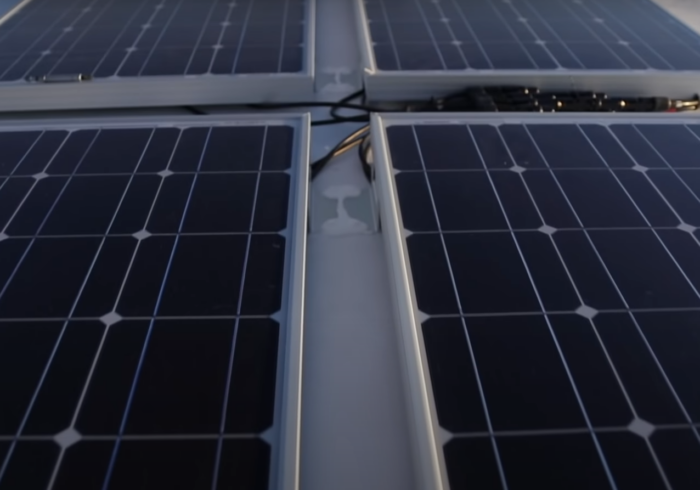
Solar Panels
Solar cells capture photons (tiny particles of light) in the photovoltaic cells. These cells make up a solar panel. Photovoltaic means they convert direct sunlight into electricity. A solar panel is made up of many cells connected together. You’ll need to figure out how many solar panels you’ll require.
Solar Charge Controllers
PWM Charge Controller
A Pulse Width Modulation (PWM) Charge Controller is the most common type used with RVs. It uses an algorithm to control the charging process and prevents overcharging. You can usually find these for around $100.
MPPT Charge Controller
Maximum Power Point Tracking (MPPT) Charge Controllers are more expensive, but they are more efficient. They convert the higher voltage from the solar panels into the lower voltage that is required by the batteries. This means that you can use fewer solar panels and save money. When the cloudiness increases, your MPPT charge controller reduces the amount of current drawn in order to keep a desirable voltage at the panel’s output. When it becomes sunny again, the MPPT controller will enable additional power from each panel.
An Inverter
The inverter transforms 12-volt DC power from your battery into 120-volt AC power. This amount can be enough to run most appliances like a microwave, coffee maker, or television. A solar energy-powered system without an inverter would just allow your 12-volt DC power system to function as intended.
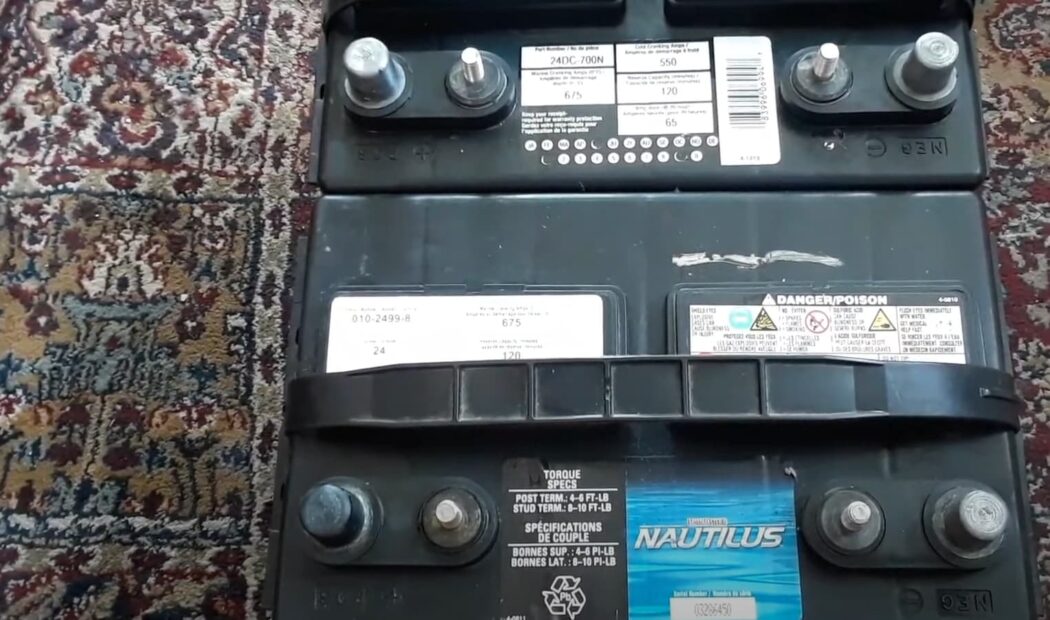
Batteries
Solar panels generate electricity, which is stored in the battery and used when you need it. There are 3 types of batteries:
- AGM Lead Acid batteries;
- Flooded Cell Lead Acid batteries;
- LifePO Lithium cells;
The number of batteries you’ll require will be determined by the wattage of each appliance and how long you’ll be off-grid. AGM lead-acid batteries are made with a glass mat that absorbs the electrolyte, making them spill-proof.Flooded cell lead acid batteries have liquid electrolyte that needs to be monitored and maintained at the correct level.LifePO lithium batteries are more expensive but provide more power and last longer than lead-acid batteries.The lead-acid battery was the first rechargeable battery produced commercially available and was invented in 1859. It’s the most popular battery today, and there are several reasons for its success. First, it’s more dependable and less expensive per watt when compared to other batteries. Although advancements in manufacturing tech and materials have occurred, the fundamental operation of the battery has remained unchanged throughout time. If you’re interested in learning more about batteries and other topics related to home improvement and maintenance, you may want to check out the HomeProfy.de blog.
A Transfer Switch
The inverter needs to be wired directly to a circuit breaker in your RV’s electrical panel. A generator can also be wired into this same circuit breaker. The transfer switch allows you to select one of the two power sources without damaging any of your equipment. Without a transfer switch, you would have to manually disconnect one power source before connecting the other. This could cause damage to your equipment and pose a safety hazard. A typical 30-amp RV service provides enough power for most campers’ needs. However, if you are running multiple air conditioners or other high-wattage appliances, you may need a 50-amp service. Most RVs come with both a 30-amp and 50-amp service connection.
What Size Solar Panel Do I Need to Charge My RV Battery?
A 200 to 400-watt panel installation should be enough to power all your RV batteries if there is direct sunshine. A 200-watt system should be sufficient for basic power requirements – lights, fans, propane appliance electronics, phone chargers, and so on – at the bottom of the scale. Now add a television, microwave, and other higher-powered electrical gadgets, and you’ll most likely need closer to 400 watts (or more).
Solar Panel Output
The amount of power that your solar panel produces depends on the size of the panel, sunlight intensity (irradiance), and the angle between the sun and the panel. Solar panels are rated by their maximum output in watts under optimal conditions. The actual output will be less than the rating due to shading, soiling, clouds, and other factors. For example, a 100-watt solar panel with an efficiency of 15% will produce about 15 watts under full sun conditions. If you multiply this by six hours of peak sun per day, you’ll get 90 watt-hours (15 watts x six hours = 90 watt-hours). This is enough to power a small 12-volt DC appliance for several hours. You can find the output rating of a solar panel in the manufacturer’s specifications. The efficiency is usually between 12% and 20%. The higher the efficiency, the more power you’ll get from a given area [of your roof or ground]. Solar panels are available in different sizes, so you can choose one that fits your needs and budget. There are many solar calculators on the internet to assist you to determine your solar wattage needs, but because there are so many variables involved, they’re little more than educated guesses. The calculators seek to match your recreational vehicle’s electrical power demands with the electricity output of your solar cells. However, the only way to know for sure is to put your system to the test in the wild. And if you’ve prepared properly for your solar power installation, you’ll be able to quickly expand it with extra panels as needed.
How to Hook Up Solar Panel to RV Batteries
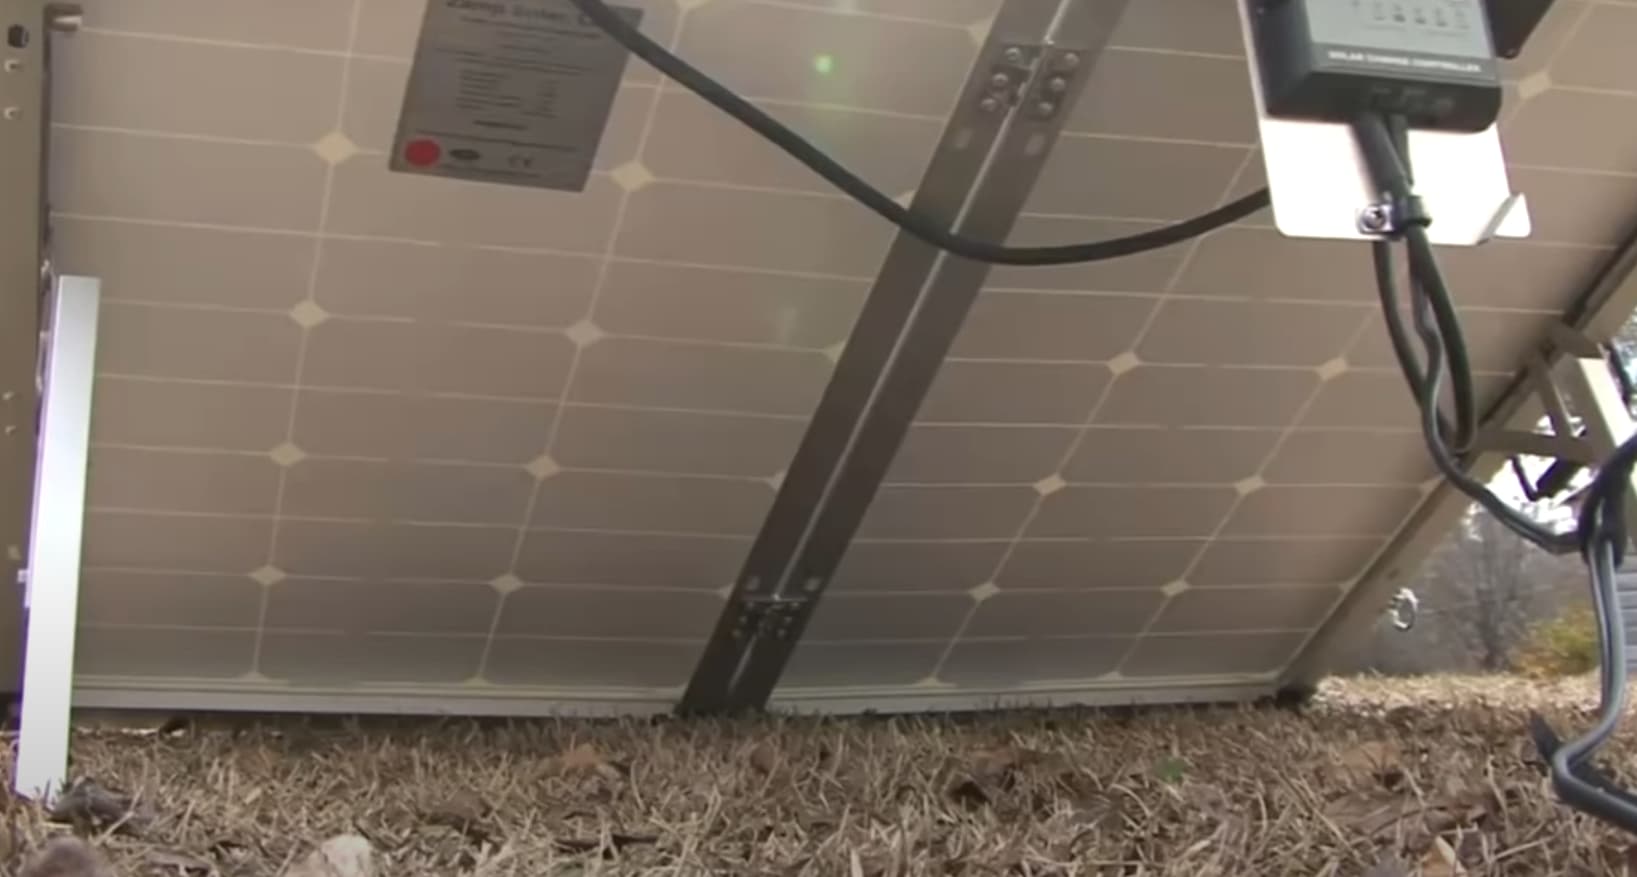
Mounting
First, you’ll need to mount the panels on the RV’s roof. Ensure that they’re positioned in such a way to get direct sunlight throughout the day. You’ll also need to connect the panels to your RV’s electrical system. This can be done by running a wire from the positive terminal of the panel to the positive terminal of the battery and then doing the same for the negative terminals. Once everything is hooked up, you should see a noticeable increase in your RV’s battery life!
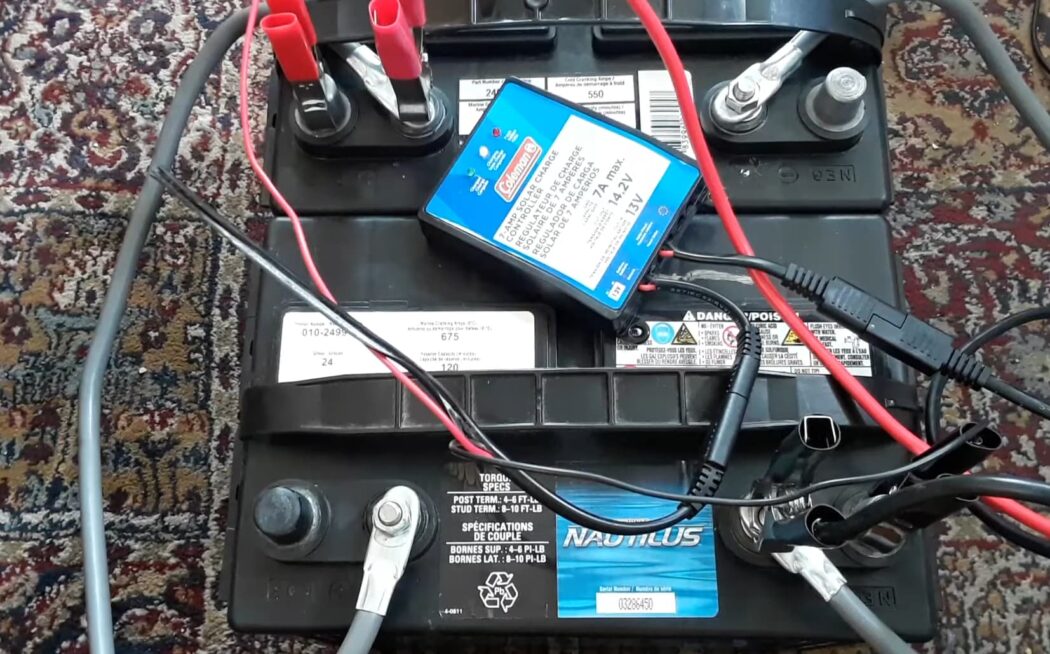
Connect the Charge Controller to the Battery Bank
Now that the panels are mounted and connected to the RV, it’s time to connect the charge controller. This is a vital component as it ensures that the batteries don’t get overloaded with power. To do this, simply connect the positive and negative terminals of the controller to the corresponding terminals on the battery bank.
Connect the Controller to the RV Panels
With the charge controller in place, you can now connect it to the RV solar panels. Again, you’ll need to connect the positive and negative terminals of both the controller and the panels.
Double-Check the Connections to Make Sure Everything is Working
Now that everything is hooked up, it’s important to double-check the connections to make sure that they’re all secure.
Connect a Solar Inverter to the Battery Bank
The last step is to connect an inverter to the battery bank. This will allow you to turn on the gadgets that require AC power while you’re dry camping. All you ought to do is to connect the positive and negative terminals of the inverter to the corresponding terminals on the battery bank. Once everything is hooked up, you should be able to use your RV’s electrical system just like you would at a campsite with hookups!

FAQ
Can I connect the solar panel directly to the RV battery?
Connecting a solar panel to a battery (or battery bank) directly may work if the solar panel is extremely low wattage (5 watts or less), but it’s not suggested. To safely charge your camper battery for optimum performance and longevity, use a battery charge controller.
How do you know if a solar panel is charging a battery?
Look at the color of the lights shining on the box during ordinary daylight hours when the system is supposed to be operating. If your inverter has a green light, your system is working properly. During daytime hours, a red or orange glow indicates that there’s a problem with the system. If you’re not sure whether your system is working properly, have it checked by a qualified technician.
How many solar panels do I need to power my RV AC?
To run your RV air conditioner for 8 hours each day, you’ll need at least 1,800 watts of solar panels. This is based on 12-volt RV-grade solar cells. Of course, there’s also the issue of battery power.
How fast will a 200-watt solar panel charge a 12-volt battery?
The charging time for a 12-volt battery using a 200-watt solar panel might be anywhere from 5 to 8 hours. But this will depend on the size of the battery, weather conditions, and how much power is being drawn from the battery while it’s charging.